Showing posts with label crafty. Show all posts

Wednesday, January 30, 2013

Unforgettable Valentines

while we're waiting to hear back about a potential home in FL,
(and to keep myself from going crazy with anxiety)
B and I decided to have a little CRAFT DAY to make some super cool Valentines for family...

 i popped onto Pinterest for some ideas, only to spot this super-adorable guy.


 it was toddler-friendly, and looked easy enough...
so i went around gathering supplies.
as soon as i brought out the "google-eyes," B was game... 
sister loves her some google-eyes!

 it turns out that i had already packed up the construction paper,
 so i had to bust open a box to retrieve it...
 it was well worth it, though. ;)
of course, B wasn't much into the whole tracing part...
or the cutting part...
but when the glue and google-eyes came out, she was ready to participate!

and we did have to take a small break to dance during key songs on Cinderella...
these days, it is not uncommon to see B randomly dancing or singing...

as i said before... at this stage, B just isn't really into the "preparation" aspect of our crafts...
but my glue-lovin' gal is always ready to get sticky!
 
 and she loves to help "blow" on the glue to help it dry... very essential. ;)


we made a few purple and a few pink... 
and as soon as they dry, they will be ready to send out to all of B's special valentines!

i hope you all are enjoying your preparations 
for Valentine's Day!

Tuesday, November 27, 2012

DIY | Reindeer Thumbprint Ornaments

we have been a little stressed around our house lately,
so i decided that decorating for Christmas was exactly what we needed...
and decorate we did!

... but you know we can't decorate without a little DIY-action!

this one was quick, easy, and cost about $5 - $10.
the only cost was purchasing a set of clear glass ornaments
from the lovely Christmas wonderland of Target.


 what you'll need:
acrylic paints in your choice shades of brown and red
a black (or brown) sharpie
small paintbrush
artificial snow (or glitter, or even sand)
a thumb (either yours or your kiddos')
a place to hang ornaments to dry

to start, i just squirted some of the tan paint onto a piece of parchment paper, 
smeared my thumb in it - noting not to accumulate too much - 
then, i centered the ornament in my hand and placed 4 thumbprints evenly around it.
i hung it on an ornament stand to dry.
after it was completely dry,
i took a black Sharpie marker and added a pair of eyes and antlers to each thumbprint.

 i squirted a little red paint on my parchment paper,
and took the tip of the small paintbrush to add a red nose. :)

after drying, i added some artificial snow inside the ornament.
and voila, your very own reindeer ornament!
 i made about 7 of these as Christmas gifts for grandparents and godparents this year. :)

and, yes, i had planned to involve B in this craft, 
 but she wanted nothing to do with sticking her thumb in paint.
 those TERRIFIC TWOS are in full-force around here lately, so we take what we can get... ;)
but if you can get lucky, this would be a wonderful craft to involve the kiddos...

happy crafting!


Monday, July 2, 2012

Crafts, Crafts, and Learning Colors

Since our area has been experiencing a rather intense heatwave lately, I decided it would be a good time to break out the crafts to occupy both myself and B indoors.

I was excited to try out a "clean" version of finger-painting that I have seen a few times on Pinterest.
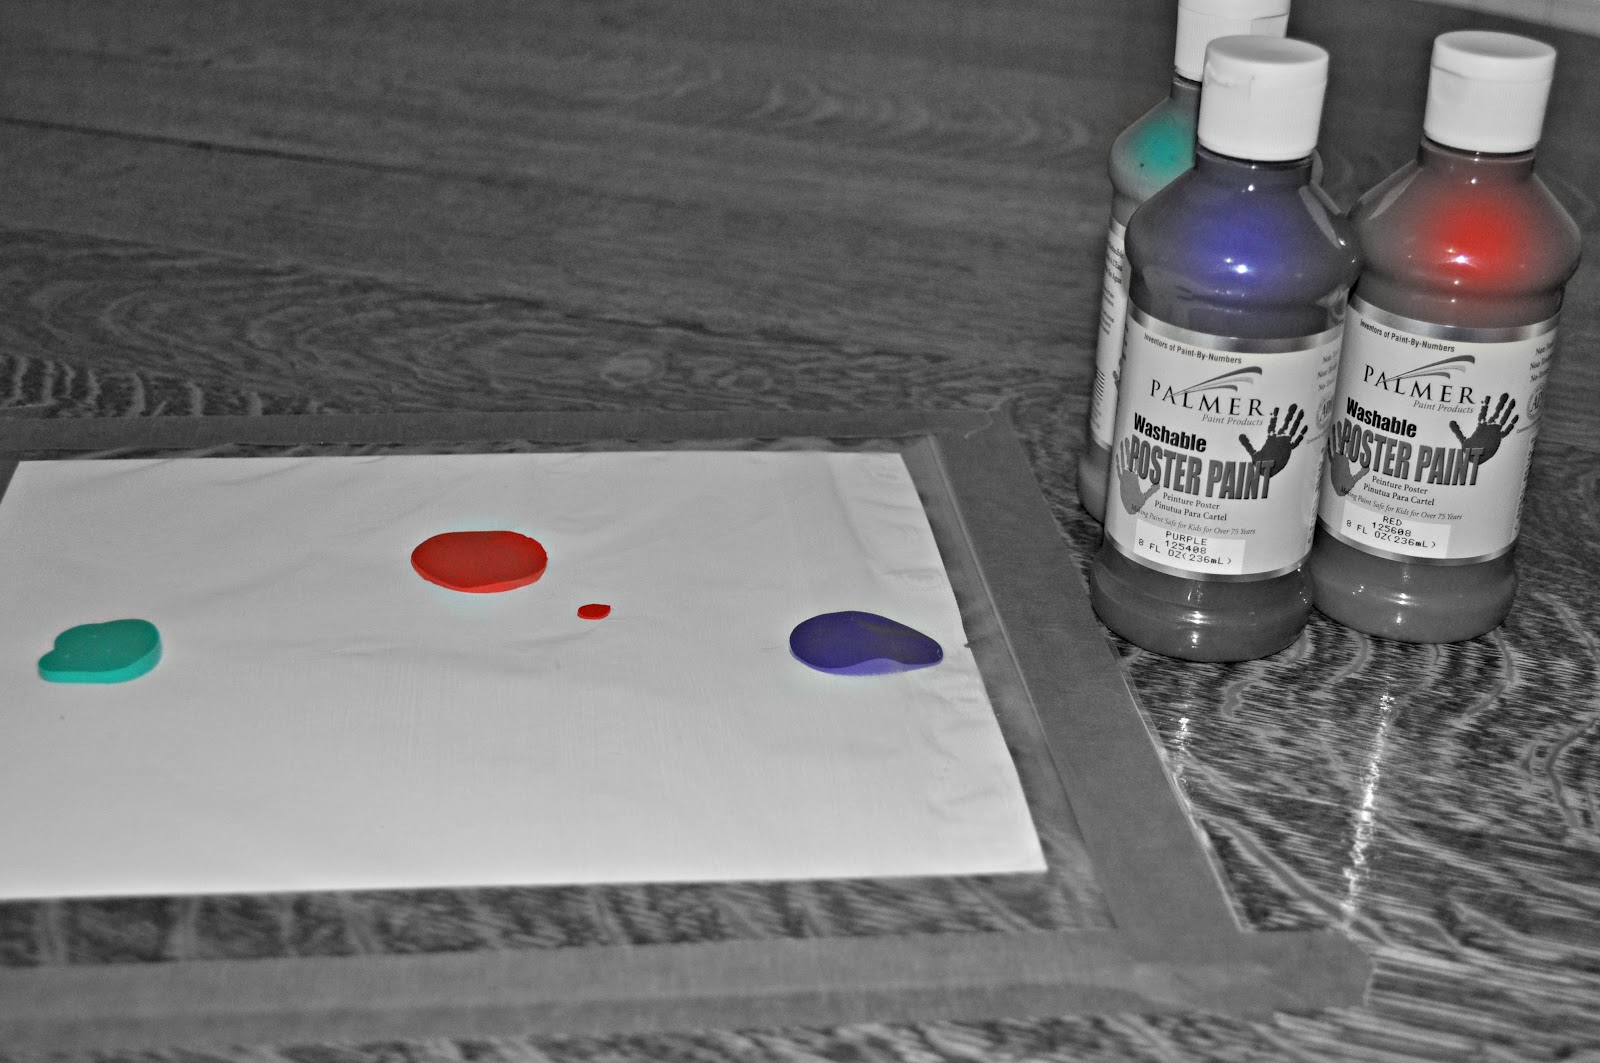
All you need is some paper, paint, a plastic bag, and some painters/masking tape.

place the paper in the plastic bag.
tape plastic bag to flat surface.
{make sure you tape down the zipper-part last, in case you need to add more paint later}
add desired amount of paint to paper inside bag.
{fyi, I would add a little more than what is pictured so that they can really swirl it around the paper}
and lastly, get those little fingers moving!


hint, hint... add more paint, Mom!

As for me, I definitely had the itch to do a little patriotic decorating!

printable and canvas art idea via eighteen25

After about Day 4 of being stuck indoors, B was rather adamant that we needed to find something else to do to occupy our time... What better time to start learning our colors?


This week, it's green.


I went around the house and gathered up every green item that I could find.

{green cups, stacking ring, green tea package, a leaf, green crayon, green chalk, green teacup saucer, shamrock, turtle and frog magnets, her beloved Little People "croc-croc", a pepper, and a fake scoop of ice cream from her Melissa & Doug scooping set}

We sat down and went over everything "geem"

Next week, I'm thinking about doing red... We'll see what I can round up :)

happy tuesday!